
Create Additional Calendars
After registering with timum using your email address and activating your account, log in to timum. Then open the menu in the upper right corner. To access your user account, select the Personal Settings menu item.
Now select the Provider Calendar tab and click + Create New Calendar.
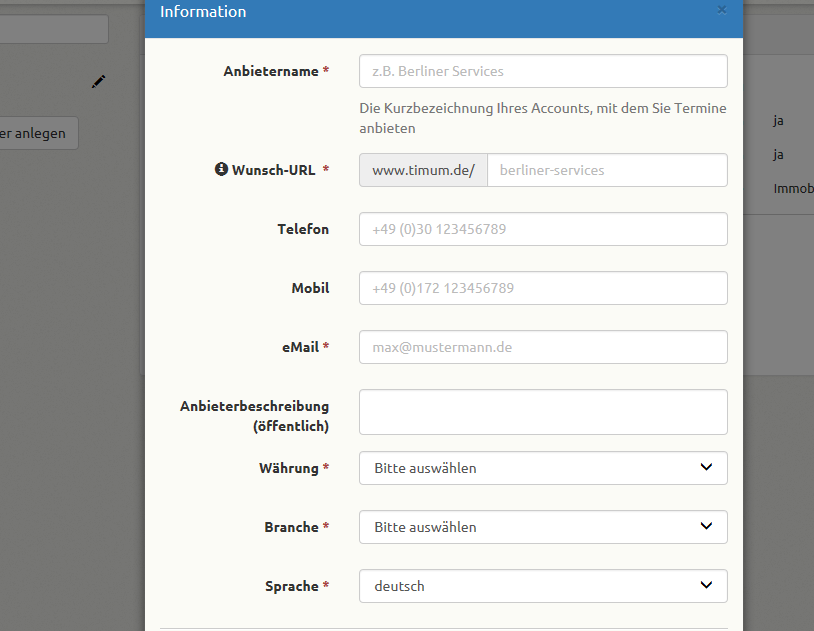
Enter the master data in the dialog window that opens. The desired URL is the link through which the calendar can be accessed by customers.
Once all data has been entered, confirm with Save.
You will now be automatically redirected to the newly created calendar.